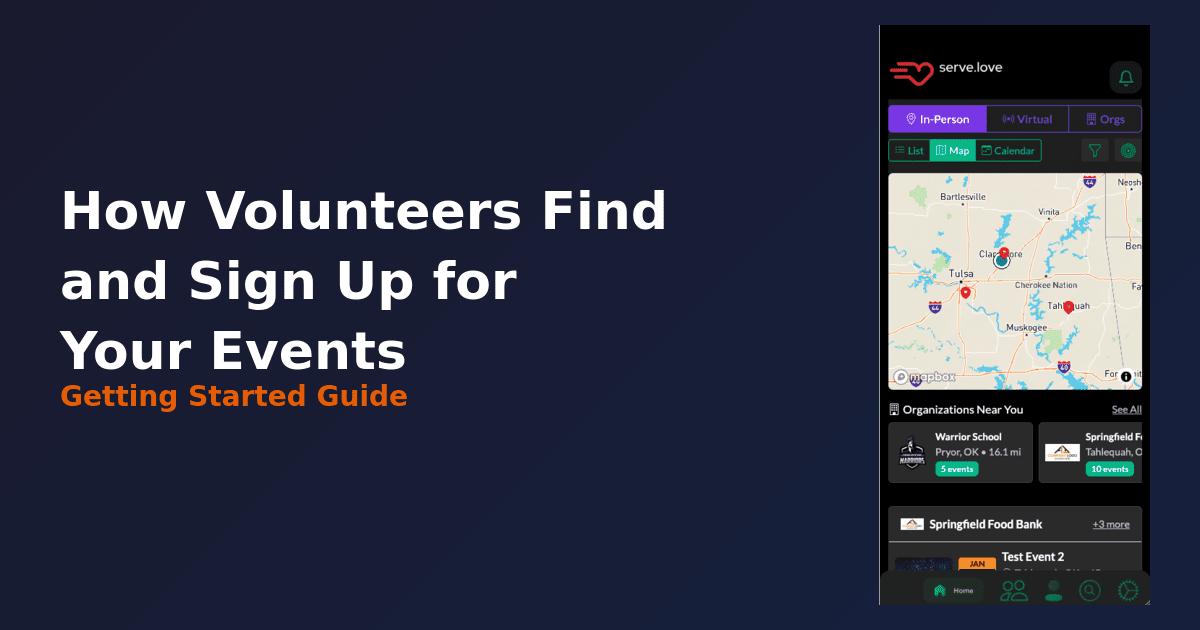
How Volunteers Find and Sign Up for Your Events
Getting Started Guide
You’ve created your first event – congratulations! But what happens next? How do volunteers actually find it and sign up?
Let’s walk through the experience from a volunteer’s perspective, so you know exactly what they see and how to make your events irresistible.
Where Volunteers Discover Your Events
Volunteers can find your events in several ways:
1. Direct link from you – The fastest path. Every event has a shareable link you can post on social media, include in emails, or add to your website. This is how most first-time volunteers find you.
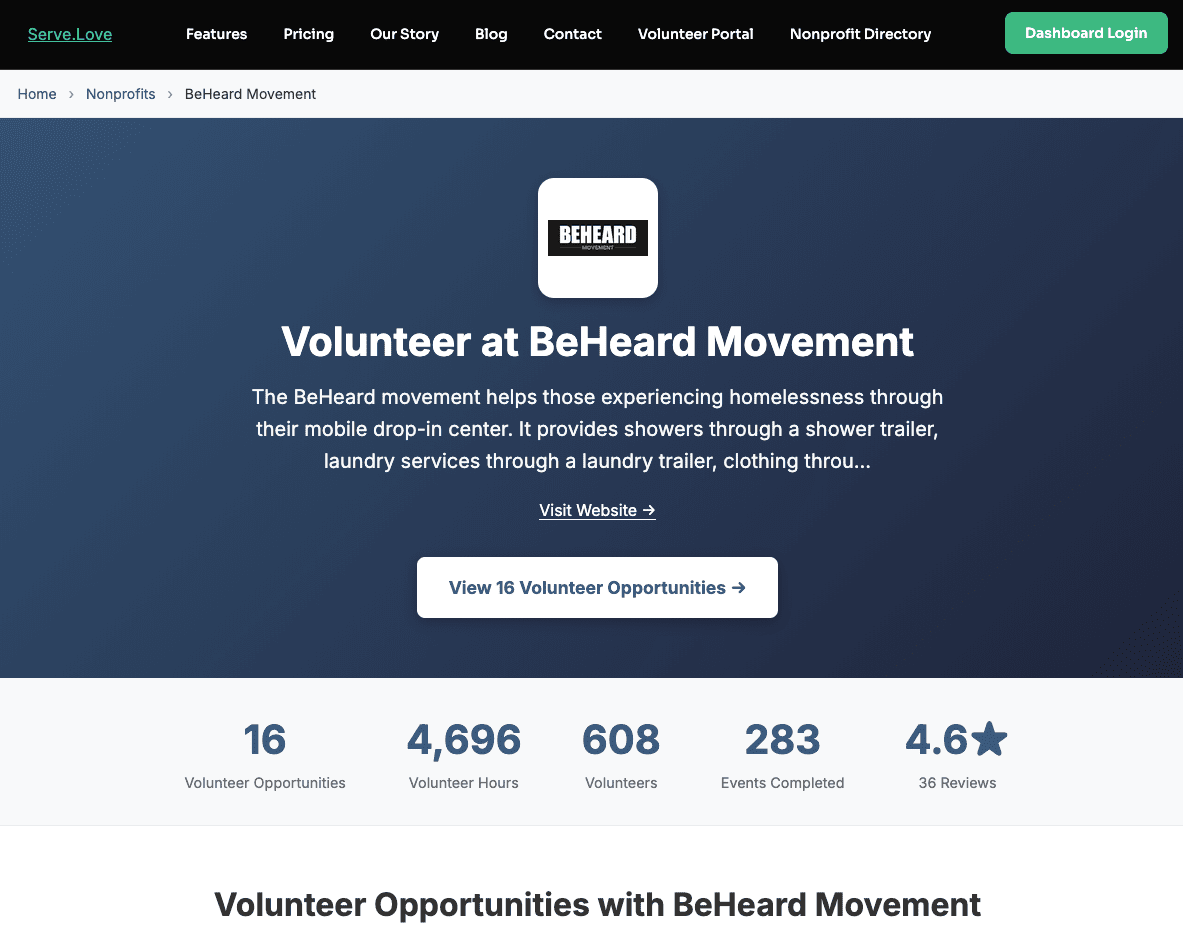
2. Your organization’s public page – Volunteers who’ve heard of your nonprofit can browse all your upcoming events in one place. Your logo, description, and event calendar create a professional first impression.
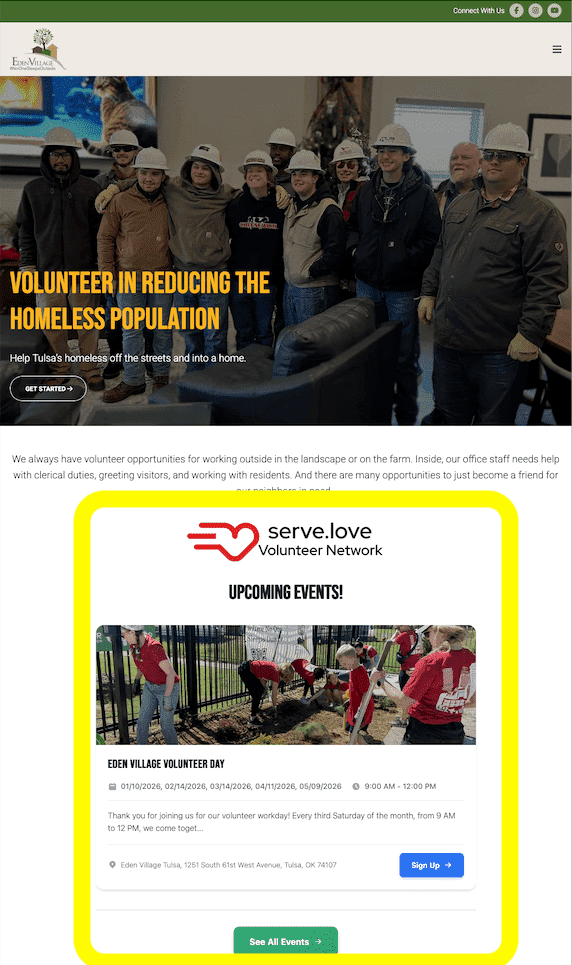
3. Embed events on your website – You can embed a live event widget directly on your own website. Volunteers see your events without leaving your site. Learn how to embed events →
4. The Serve.Love volunteer directory – People searching for volunteer opportunities in their city can discover your events alongside other local nonprofits. Good event descriptions help you stand out here.
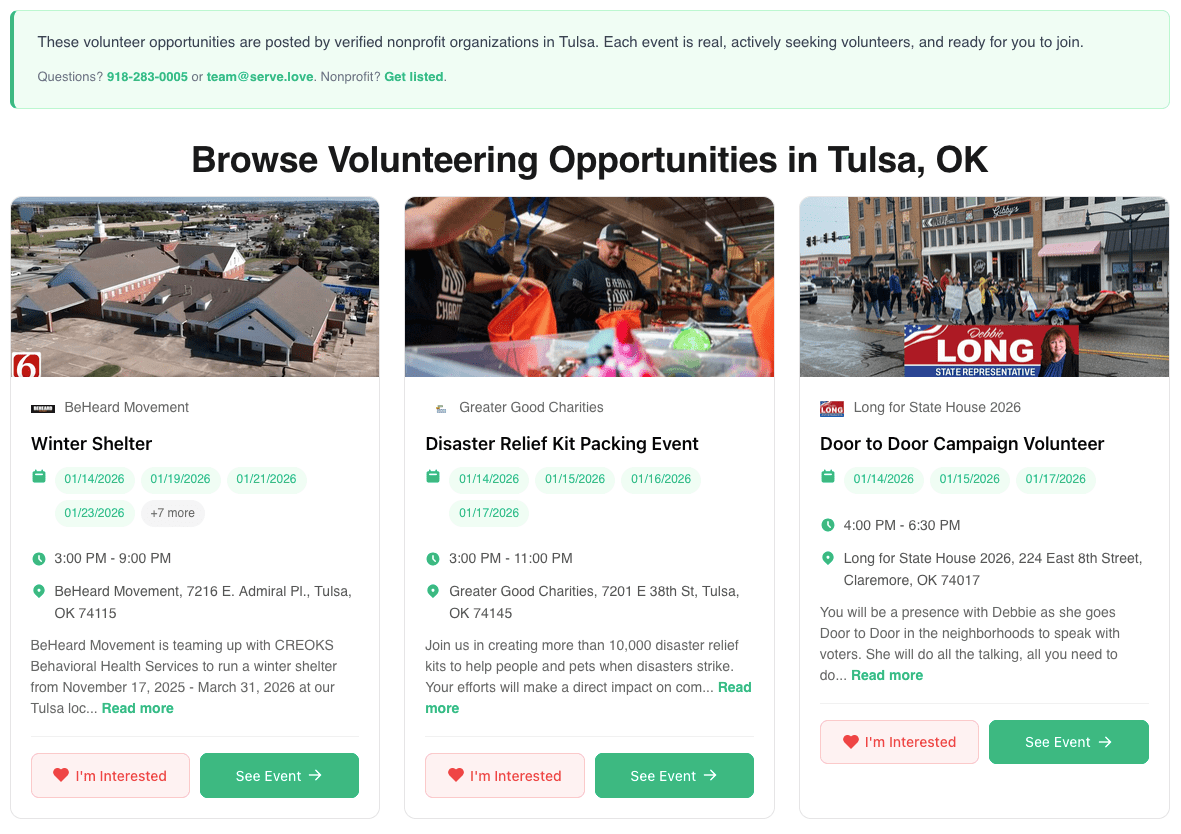
What Volunteers See on Your Event Page
When a volunteer clicks through to your event, they’re asking themselves one question: “Is this worth my time?”
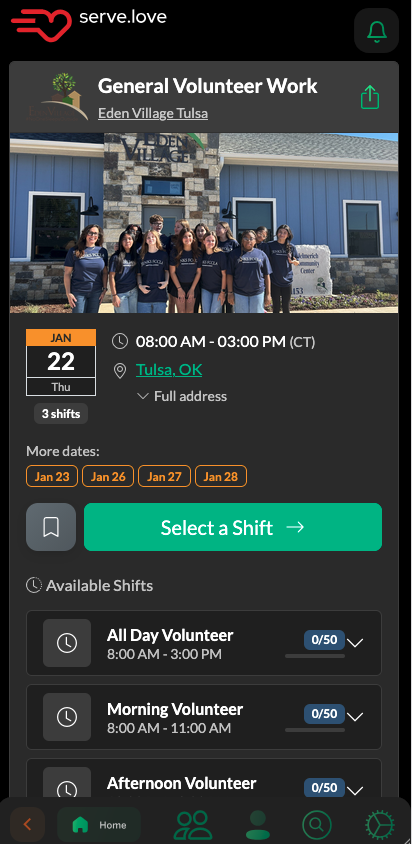
Here’s what they see:
- Event image – A photo from a past event or something that captures the spirit of the work. Events with images get significantly more signups than those without.
- Event title and description – What they’ll be doing, why it matters, and any details they need (parking, what to wear, etc.)
- Date, time, and location – With a map link so they can check the commute
- Available spots – Creates urgency when spots are filling up
- Shift options – If you’ve set up shifts, they can pick the time slot that works for them
The best event pages answer every question a volunteer might have before they have to ask.
The Signup Flow: What Volunteers Experience
When a volunteer clicks “Sign Up,” here’s what happens:
Step 1: Account creation (first-timers only)
New volunteers enter their name, email, and phone number. Returning volunteers just log in – their information is remembered.
Step 2: Your custom questions (if any)
If you’ve added a signup form to your event, volunteers answer your questions here. Common examples: t-shirt size, dietary restrictions, skills, or emergency contact info.
Step 3: Confirmation
They see a confirmation screen with event details, and immediately receive a confirmation email.
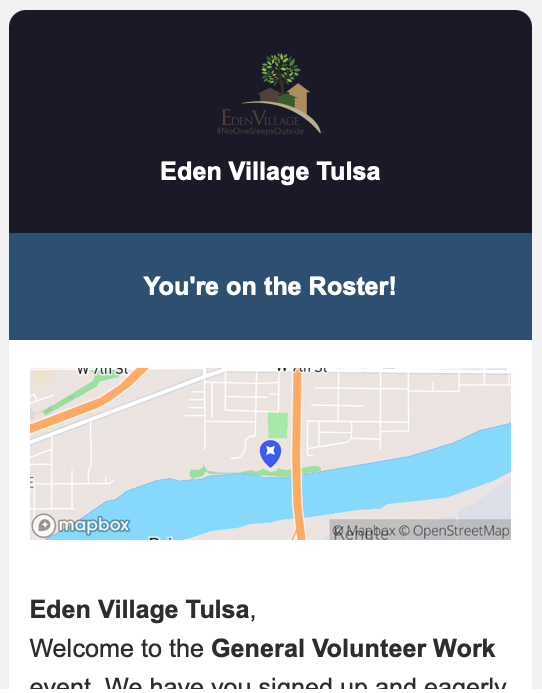
This email includes:
- Event name, date, time, and location
- A link to add it to their calendar
- Your contact information
- Option to cancel if plans change
Step 4: Reminders (automatic)
Volunteers receive reminder emails before the event – you don’t have to send these manually. They also get a thank-you email after they check in.
What You See When Someone Signs Up
On your end, new signups appear in the Volunteers tab of your event. You’ll see:
- Volunteer name and contact info
- Which shift they signed up for (if applicable)
- Their answers to your custom form questions
- Whether they’ve volunteered with you before
You can also get email notifications when new volunteers sign up – check your notification settings if you want these.
Your Quick Win: Share Your Event Right Now
The fastest way to get your first signup? Share your event link.
Here’s how:
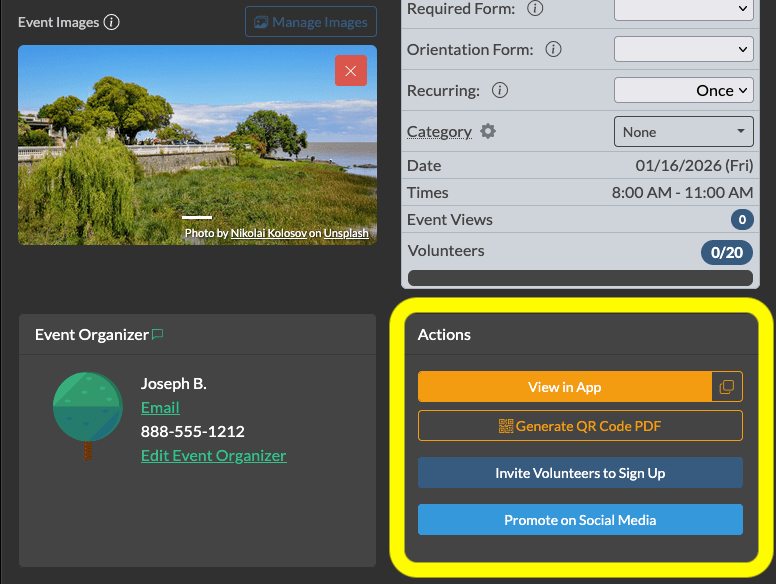
- Open your event in Serve.Love
- Click the View in App tab
- Copy the public event link
- Post it on your social media, send it in an email, or text it to a friend
You can also use the Promote tab to share directly to Facebook or generate a QR code for printed materials.
That’s it – you now understand the complete volunteer journey from discovery to signup.
Getting Started Guide — Part 1 of 5
→ Next: Your Event Checklist: What to Set Up Before Going Live